

Integration Guide
Step 1: Configure Entri
To set up Sell, first follow the Getting Started guide. Be sure to use dynamic configuration variables if your DNS records change based on the domain purchased.Step 2: Select your Sell registrar partner
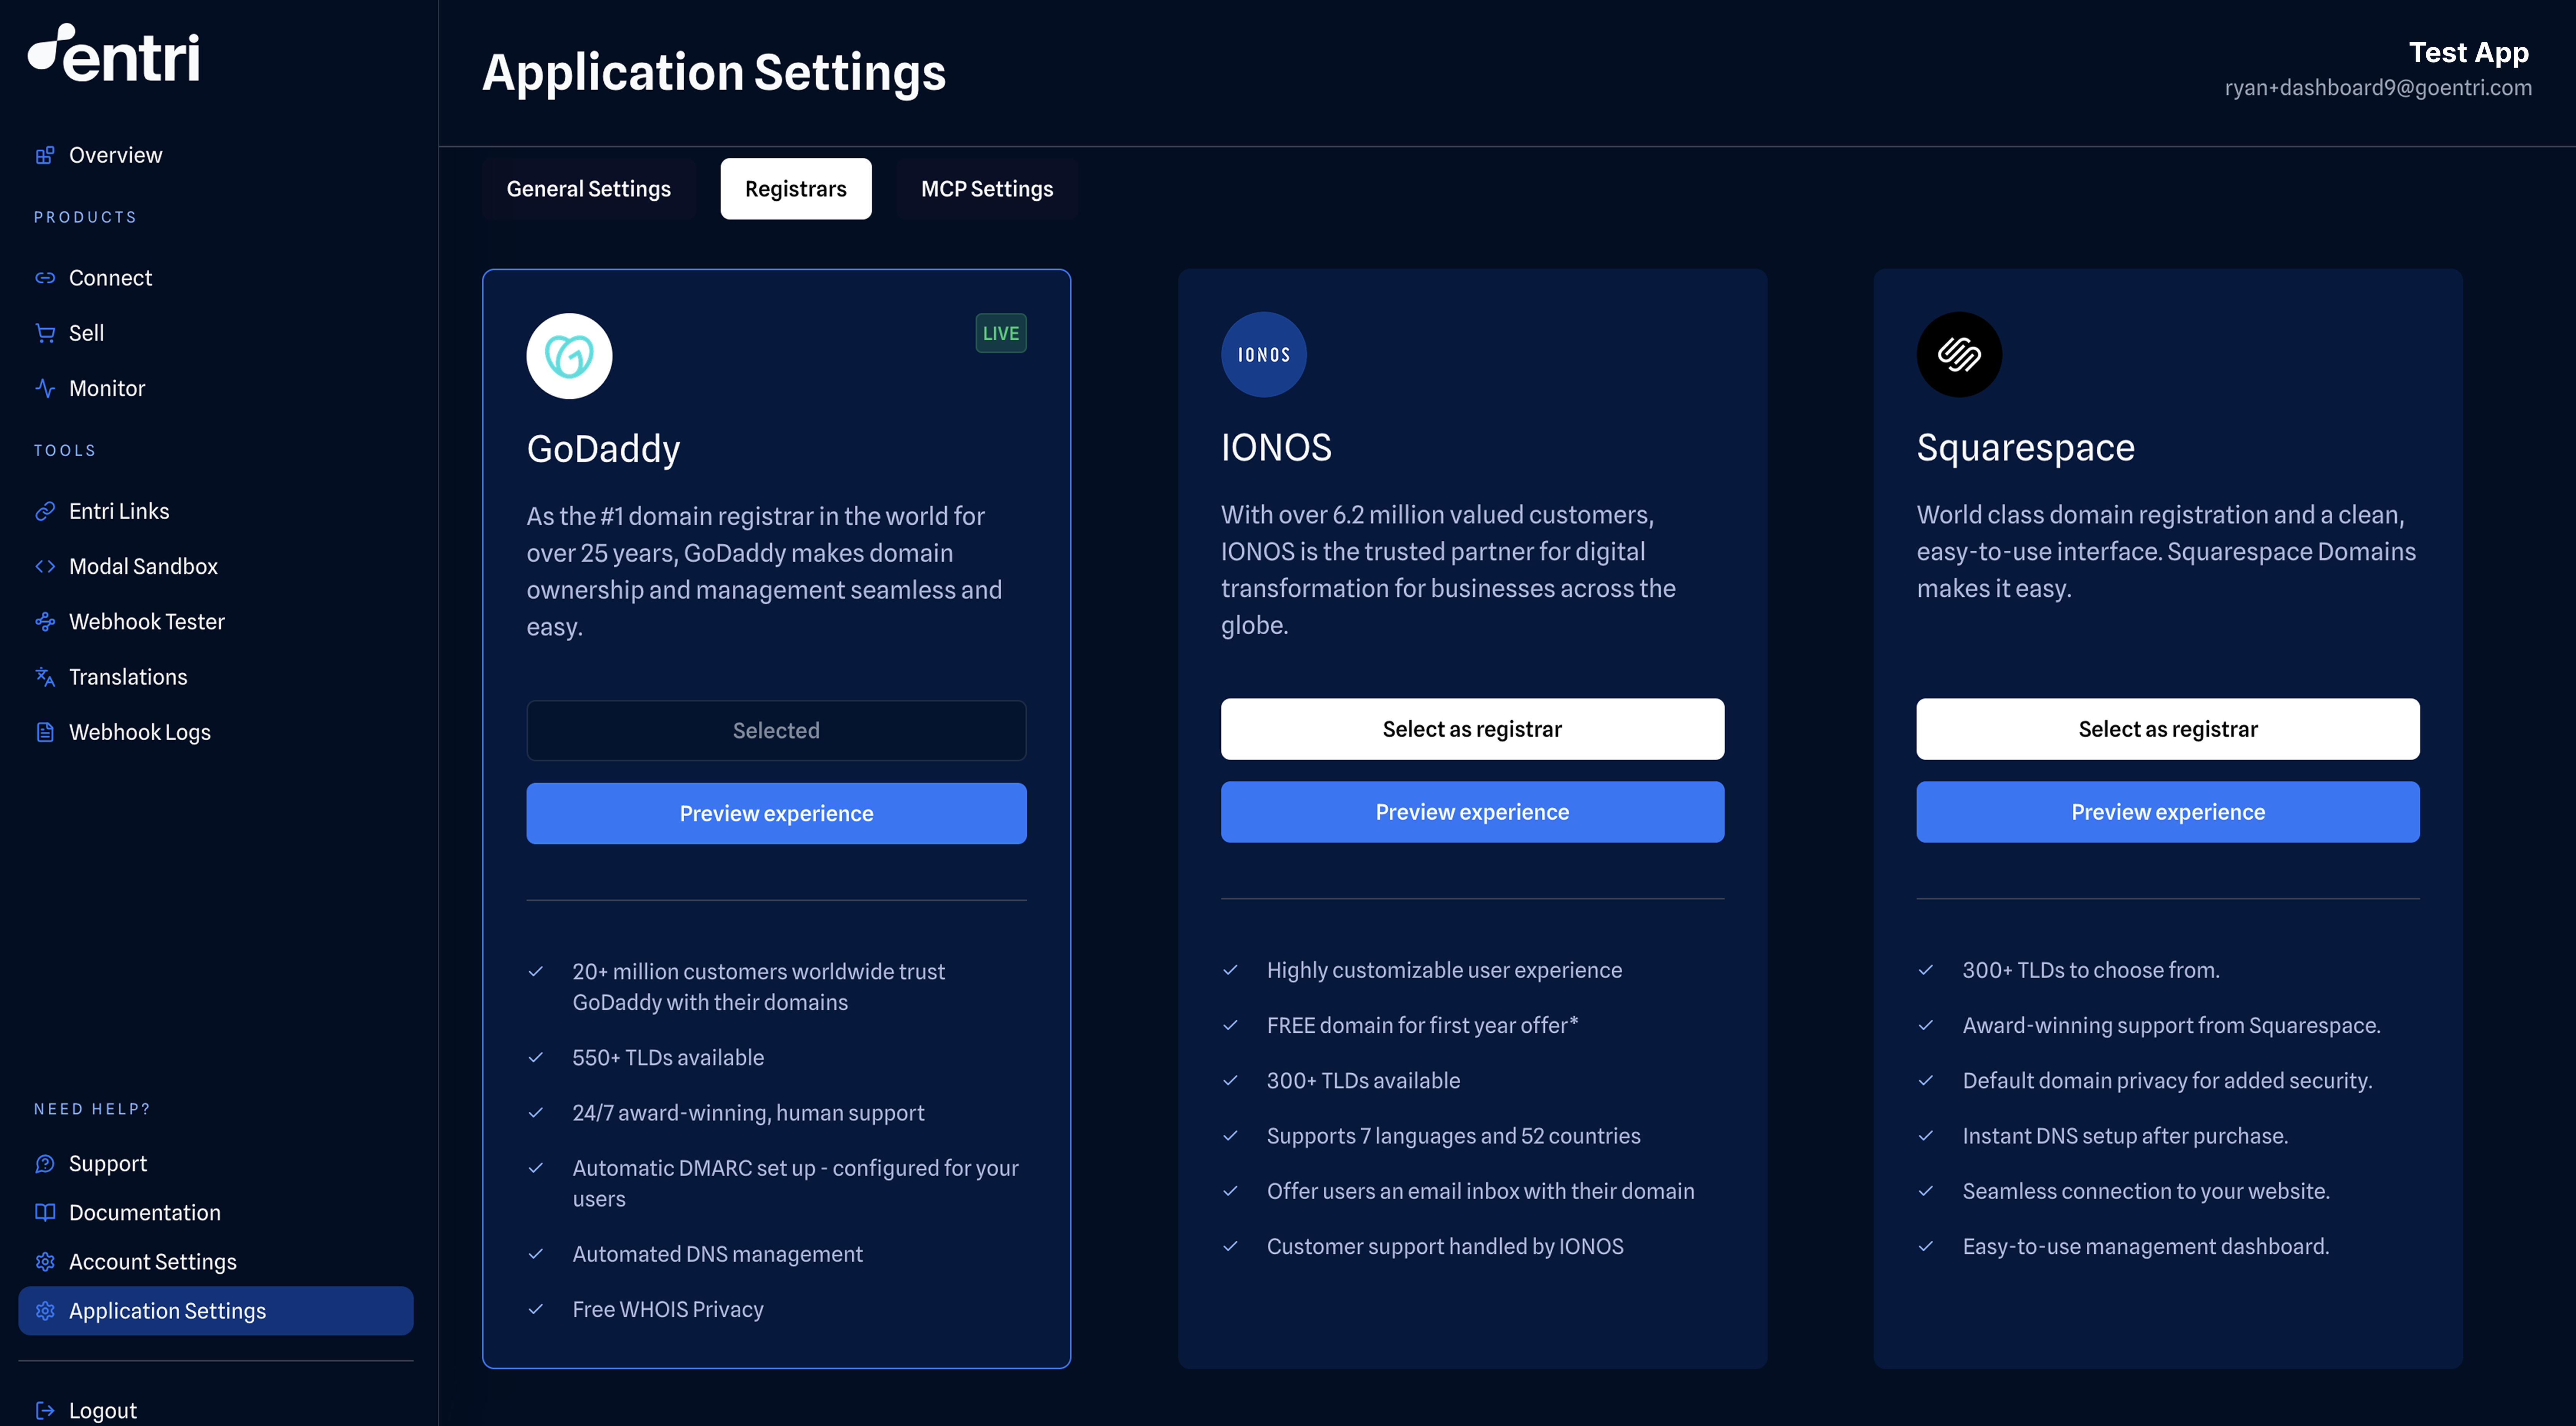
To start selling domains, you’ll need to select your Sell registrar partner. By default, no partner is selected in your account. Each partner will provide a different checkout experience, and a different set of functionality (top level domains, languages, regional support etc.). To learn more about each partner, please visit the Sell Registrars page or the Entri dashboard. After logging into the Entri Dashboard, visit the Application Settings page and the Sell Registrars tab. On this tab you can preview each Sell experience, learn more about the functionality offered by each partner, and select your registrar for each of yourApplicationIDs.
Step 3: Define your return URLs (optional)
By default, Entri Sell redirects the user back to your platform if they complete or exit the purchase flow, on the same page that they were referred from. But, if you’d like to specify a different return URL, you can define this:successCallbackUrl: The URL to which the user will be redirected after a successful domain purchase.exitCallbackUrl: The URL to which the user will be redirected if they select Close (X) before completing the purchase flow.
Step 4: Call purchaseDomain()
Call thepurchaseDomain method with your configuration object to open the Entri Purchase Domain Flow.
Configuration object specifications
More information about the properties within the object that you’ll pass to theentri.purchaseDomain method.
Basic Configuration
applicationId(string): A unique identifier for your application, available in the Entri dashboard. Example:"12345"token(string): A JWT token used for authentication and authorization. Example:"JWT_TOKEN"successCallbackUrl(string) (optional): The URL to which the user will be redirected after a successful domain purchase. The purchased domain will be added as adomainquery string parameter to the success callback URL. Example:"https://myapplication.com/success"(redirects tohttps://myapplication.com/success?domain=mydomain.com)exitCallbackUrl(string) (optional): The URL to which the user will be redirected if they select Close (X) before completing the purchase flow. Example:"https://myapplication.com/exit"disableConnect(boolean) (optional): Whentrue, the flow only performs the domain purchase — no DNS records are configured for the purchased domain. Useful when your app sets up DNS out-of-band. Default:false.apiLink(string) (optional): Overrides the base API endpoint the modal calls. Most integrations should leave this unset; use it only when directed by your Entri account manager (for example, to target a regional endpoint).whiteLabel.sell.flowTarget(string) (optional): The target location where the purchase flow window will be displayed. If_blankis specified, the flow will open in a new browser tab. Default:_parent.
DNS Records
dnsRecords(array of objects): An array containing DNS record objects. These records will applied after a successful domain purchase.- Example:
Webhook Notifications
When your users go through the Sell flow, Entri will send you webhook notifications to update you on their progress and the status of their purchase. To learn more about the configuration and webhook notifications, please visit our webhook documentation page.Other Settings
freeDomain(boolean): Indicates whether the domain price should be set to $0. Should only be used on paid users at the customer’s platform. Example:true- Supported by both IONOS and Squarespace, enabled the same way. IONOS offers free domains across its full TLD catalog; Squarespace supports a limited set of TLDs. Reach out to your account manager for the current eligible TLD list on Squarespace and for access. See Advanced Security Settings for
freeDomainbelow to lock this flag into the JWT.
- Supported by both IONOS and Squarespace, enabled the same way. IONOS offers free domains across its full TLD catalog; Squarespace supports a limited set of TLDs. Reach out to your account manager for the current eligible TLD list on Squarespace and for access. See Advanced Security Settings for
locale(string): The language/locale to be used in the domain purchase flow. Example:"en"
Advanced Security Settings for freeDomain
For additional security, you can explicitly set freeDomain: false or freeDomain: true in the request body when you create the JWT. This way, the user gets explicit authorization for running the free domain flow. If the client tries to use a config that does not match the one hashed in the JWT, Entri returns an error. Token creation and the full list of properties you can lock into the JWT are documented in Enhancing Integration Security.
Mail Upsell
Mail Upsell is currently only available when using IONOS as the domain registrar.
disableMailUpsell: true in your configuration.
Example Configuration:
Post purchase asynchronous DNS configurations
Entri offers the ability for you to perform DNS configuration updates after the Sell flow has taken place. To learn more about how this feature can be used, please refer to the Asynchronous DNS configurations section.Check Domain Availability
This endpoint checks whether a domain is available for registration before initiating the Entri Sell flow. It returns the availability status along with a reason why the domain is not available, helping you determine whether to proceed with the purchase process.Check Domain Availability as HTTP endpoint
Headers
Query Parameters
Sample Response
Sharing Links API (Entri Sell)
Request body
JSON
Successful response (200 status)
JSON