Installation
Quickstart
Install Entri in your application in just a few simple steps.
1. Add the Entri <script>
tag
<script>
tag<script type="text/javascript" src="https://cdn.goentri.com/entri.js"></script>
Add this tag to your HTML. This creates a global entri
variable on the page, so make sure the Entri tag is placed above any JavaScript that references it.
2. Fetch the JSON web token (JWT)
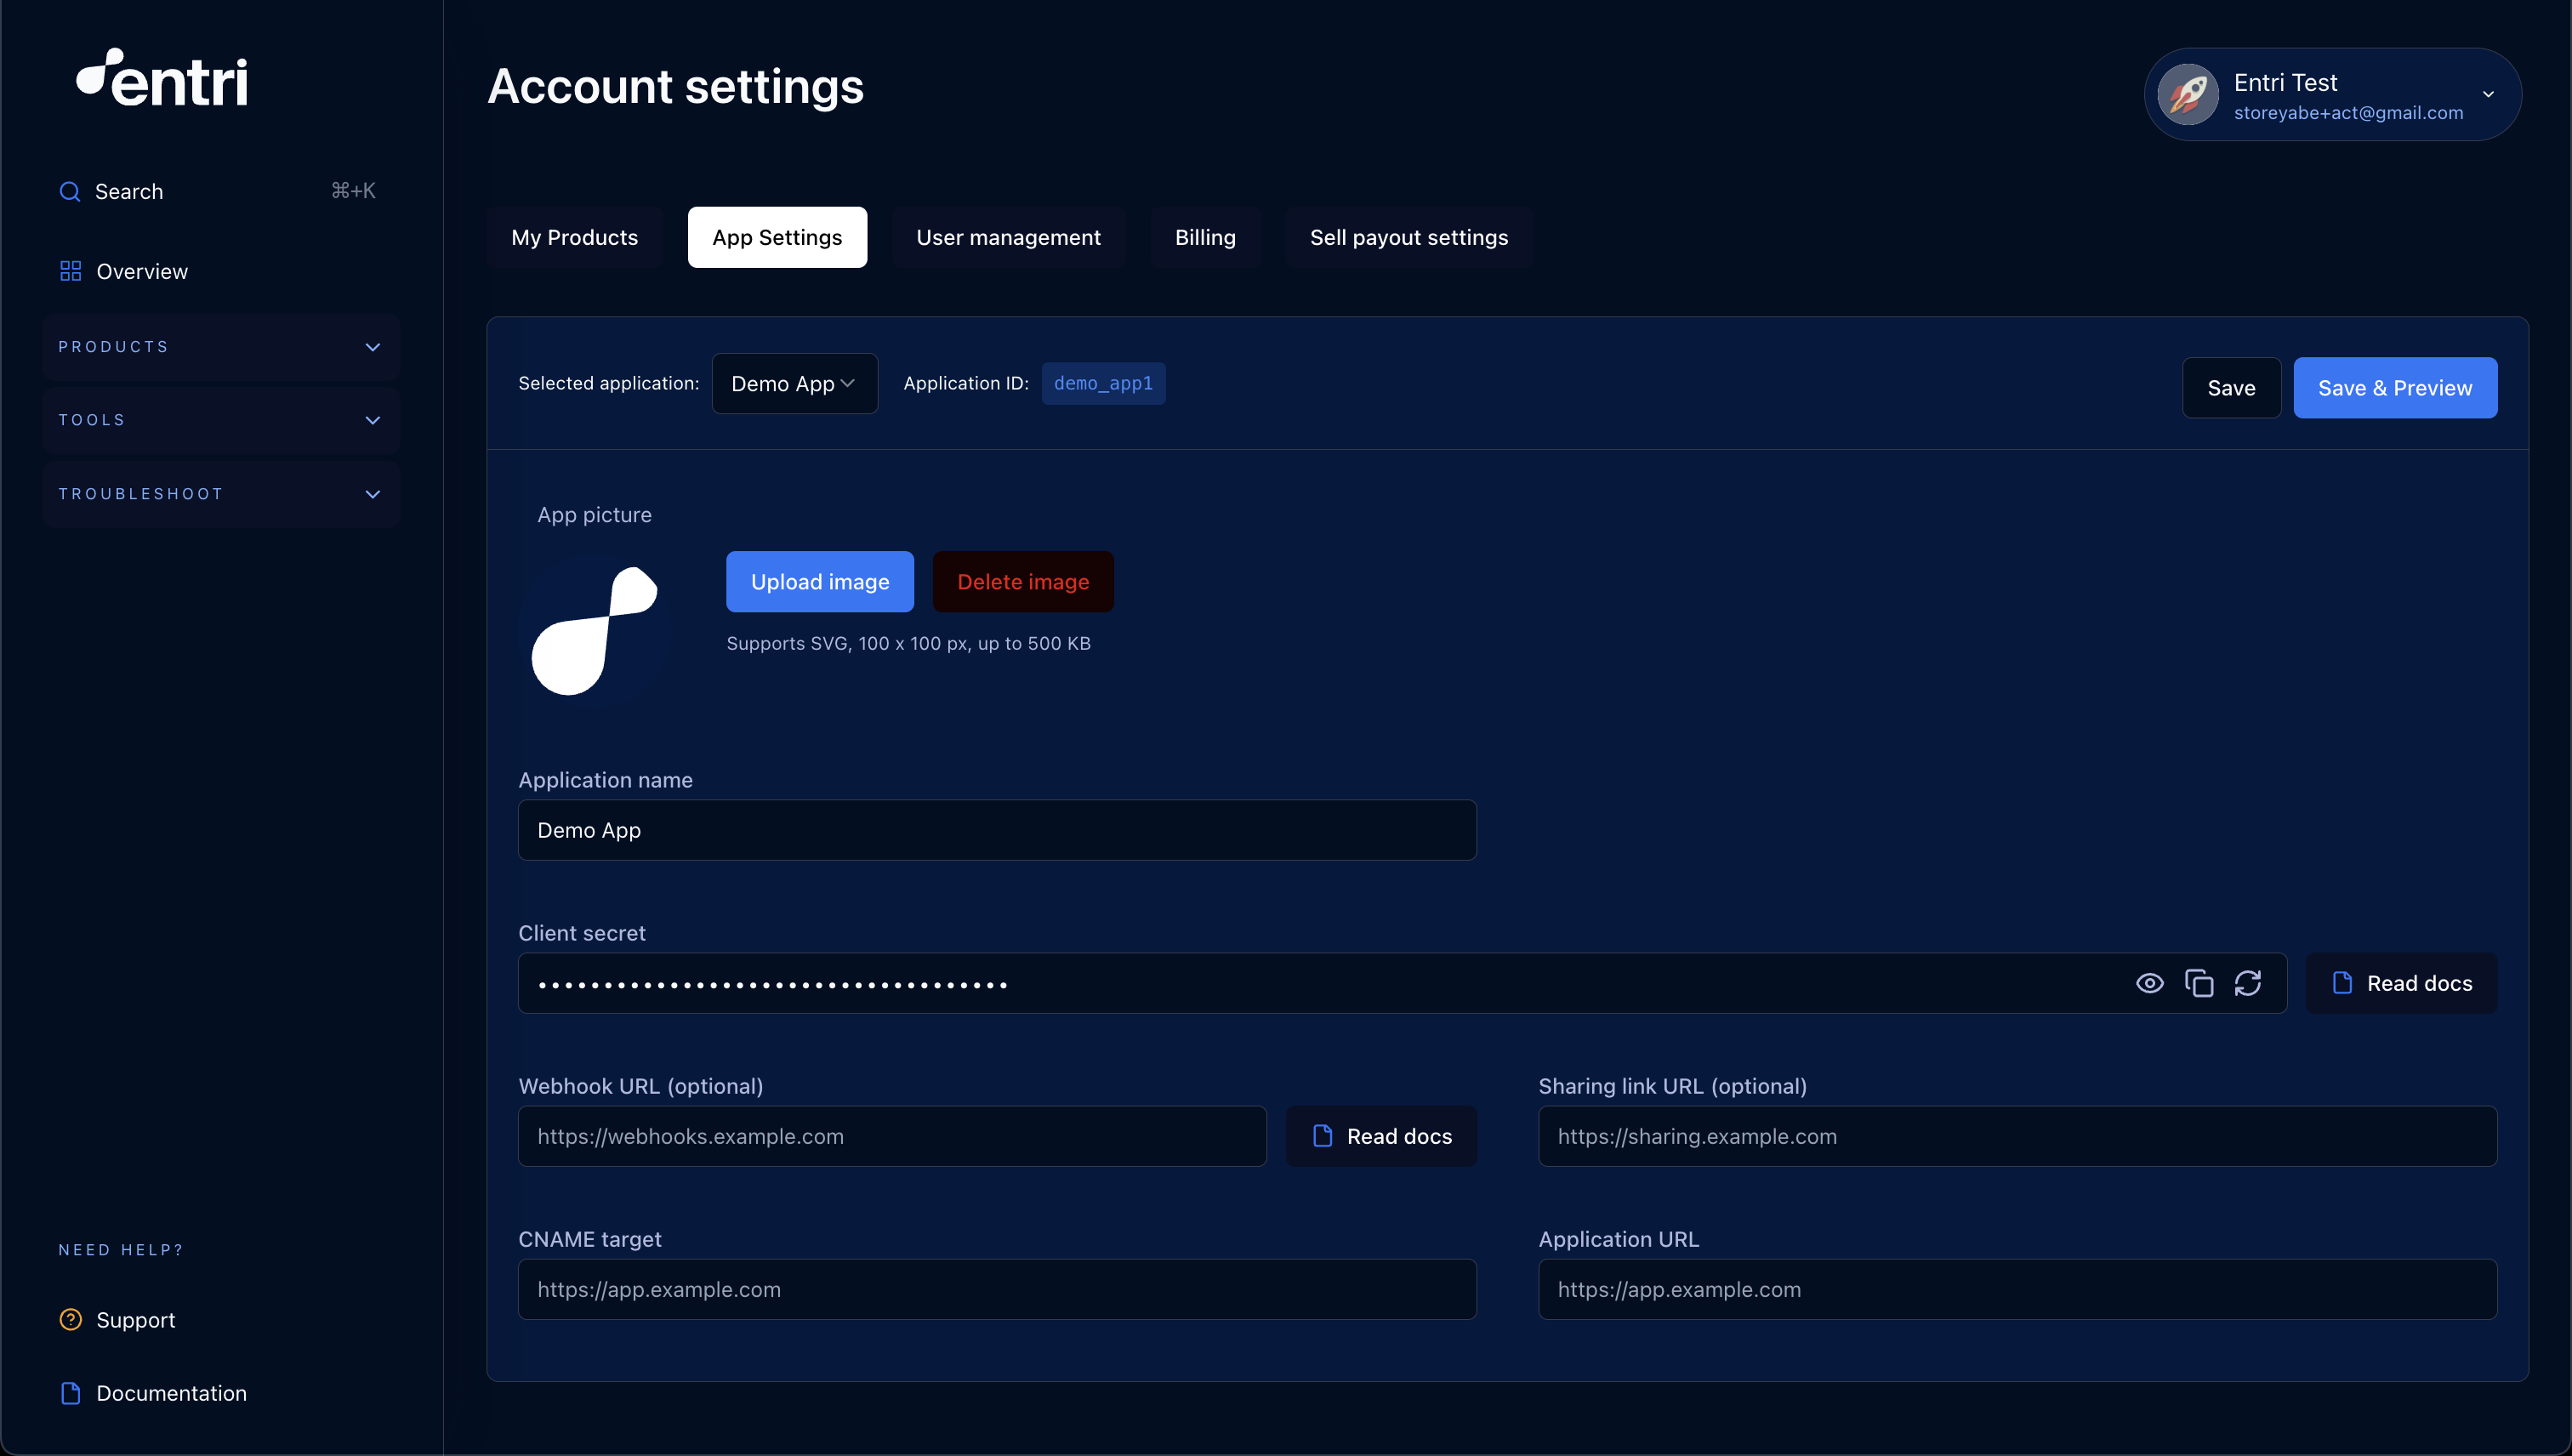
To launch the Entri modal window in a session, you'll need to fetch a JWT using the secret
key and applicationId
provided by the Entri dashboard. The JWT expires after 25 minutes. You can use any networking library you'd like. Here's an example using fetch
:
fetch('https://api.goentri.com/token', {
method: 'POST',
body: JSON.stringify({
// These values come from the Entri dashboard
applicationId: "12345",
secret: "12345-67890"
}),
})
.then(response => response.json())
.then(data => {
console.log('Success:', data); // { "auth_token": "exampletoken..." }
// Save the token in a variable or state manager for later use
})
.catch((error) => {
console.error('Error:', error);
});
3. Create the configuration object
Pass settings to the Entri modal window using a configuration object. Here's a basic example:
const config = {
applicationId: "12345", // From the Entri dashboard
token: mySavedToken, // The "auth_token" value saved in the previous step
dnsRecords: [
{
type: "CNAME",
host: "www",
value: "m.test.com",
ttl: 300,
},
{
type: "TXT",
host: "@",
value: "sample-txt-record",
ttl: 300,
},
{
type: "MX",
host: "host",
value: "mailhost1.example.com",
priority: 10,
ttl: 300,
},
],
};
Configuration Object Notes
- MX records require a priority
- When you add a new record to your configuration object, it takes some DNS providers 2-3 business days after the first time you call the
entri.showEntri
method with the new object to allow Entri to configure the record automatically on behalf of your customers. This is because certain DNS providers, such as Google Domains and Ionos, manually review the DNS Records you are setting up to ensure that they don't violate their policies. Until then, Entri will display manual setup instructions.
For complete documentation of the configuration object, see the API Reference.
4. Launch the Entri modal window
Call the showEntri
method with your configuration object to trigger the Entri modal to appear.
<button type="button" onclick="entri.showEntri(config)">Launch Entri</button>
<button type="button" onClick={() => entri.showEntri(config)}>Launch Entri</button>
Note that this is a basic example, and you're free to structure your application code however you'd like.
5. Listen for the onEntriClose
callback event
onEntriClose
callback eventWhen a user closes the Entri pop-up modal, Entri sends a callback event that you can listen for. It includes information from the session such as the domain added, whether or not the user completed the setup, and the type of DNS set up for that user (automatic, manual or shared login).
function handleOnEntriClose(event) {
console.log('onEntriClose', event.detail);
}
window.addEventListener('onEntriClose', handleOnEntriClose, false);
Here's an example of the returned event data:
{
domain: "example.com", // Domain that the user entered. Can be null if the user exits before entering a domain.
success: true, // Was the setup of the domain completed?
setupType: "automatic" // Type of DNS setup. Can be "automatic", "manual", "sharedLogin" or null if the user didn't reach the set up stage.
}
When you receive the callback event you can display a success message in your application or move the user to a next step—whatever works best in your flow.
Advanced Usage
Here are a few examples of extra features to get even more out of your Entri installation.
Launch Entri with a prefilled domain
If you'd like to use a prefilled domain and bypass the domain input screen on the Entri modal, you can send a domain directly to Entri as part of the configuration object:
const config = {
applicationId: "12345",
token: mySavedToken,
prefilledDomain: "example.com",
dnsRecords: [...],
};
Syntax Notes
prefilledDomain
should not containwww.
It should be a naked domain.- At this time, Entri does not handle domain validation when you send a domain using the prefilledDomain variable. You'll need to handle validation in your application's UI.
Add a userId
to track events via Entri webhooks
userId
to track events via Entri webhooksEntri uses webhooks to notify you when a user has added a domain and when the new DNS records have been propagated. In order to correlate the webhook event with the user that triggered it, add a userId
to the configuration object. This should be the same ID that the backend of your application uses.
const config = {
applicationId: "12345",
token: mySavedToken,
userId: "user12345",
dnsRecords: [...],
};
Check if Entri supports automatic setup for a domain
You can check if a domain is eligible for automatic setup directly using the checkDomain
method. This will tell you in advance whether the process fully automatic for your users or if they'll be asked to handle the DNS setup manually.
It takes two arguments:
- The domain (string) to be checked
- Your Entri configuration object (the same one used for launching the Entri modal window)
This is an asynchronous function, so you should consider handling the promise with then()
or using the await
operator—whatever works best in your application.
const domainCheckResult = await entri.checkDomain("http://mydomain.com", config);
console.log(domainCheckResult);
This will return an object, for example:
{
"provider": "Google Domains",
"setupType": "Automatic"
}
Dynamic configuration variables based on the user-inputted domain
You can insert dynamic variables into the dnsRecords
section of your configuration object using {}
syntax.
For example, if the user sets up blog.example.com
, the following variables will be available:
{DOMAIN}
=example.com
{SUBDOMAIN}
=blog
{SLD}
=example
{TLD}
=com
You could then create the following configuration object:
const config = {
applicationId: "12345",
token: mySavedToken,
dnsRecords: [
{
type: "CNAME",
host: "{SUBDOMAIN}.xyz.example.com", // blog.xyz.example.com
value: "custom-proxy.leadpages.net",
ttl: 300,
},
{
type: "TXT",
host: "@",
value: "{SLD}-{TLD}", // example-com
ttl: 300,
},
{
type: "MX",
host: "host",
value: "mailhost1.{DOMAIN}", // mailhost1.example.com
priority: 10,
ttl: 300,
},
],
};
Email Provider SPF
DNS configurations support the variable {emailProviderSPF}
for email provider SPF records. It outputs different values depending on the provider:
- If the provider is Google, it equals
include:_spf.google.com
- If the provider is Microsoft, it equals
include:spf.protection.outlook.com
- If the provider is unknown, it equals nothing (empty string)
For example, if you include this string in an SPF record and the customer-provided email provider is Google Workspace:
v=spf1 {emailProviderSPF} ~all
The value will be:
v=spf1 include:_spf.google.com ~all
If Entri is unable to detect an email provider the value will be:
v=spf1 ~all
For more information on SPF, see Handling DKIM, SPF, and DMARC Records.
Launch the Entri modal window with a CustomEvent
CustomEvent
In addition to using the entri.showEntri()
method, you can launch the Entri modal using a CustomEvent:
const showEntri = new CustomEvent('showEntri', {
detail: {
applicationId: "12345",
token: "12345",
dnsRecords: [...],
},
});
document.dispatchEvent(showEntri);
Updated 12 days ago