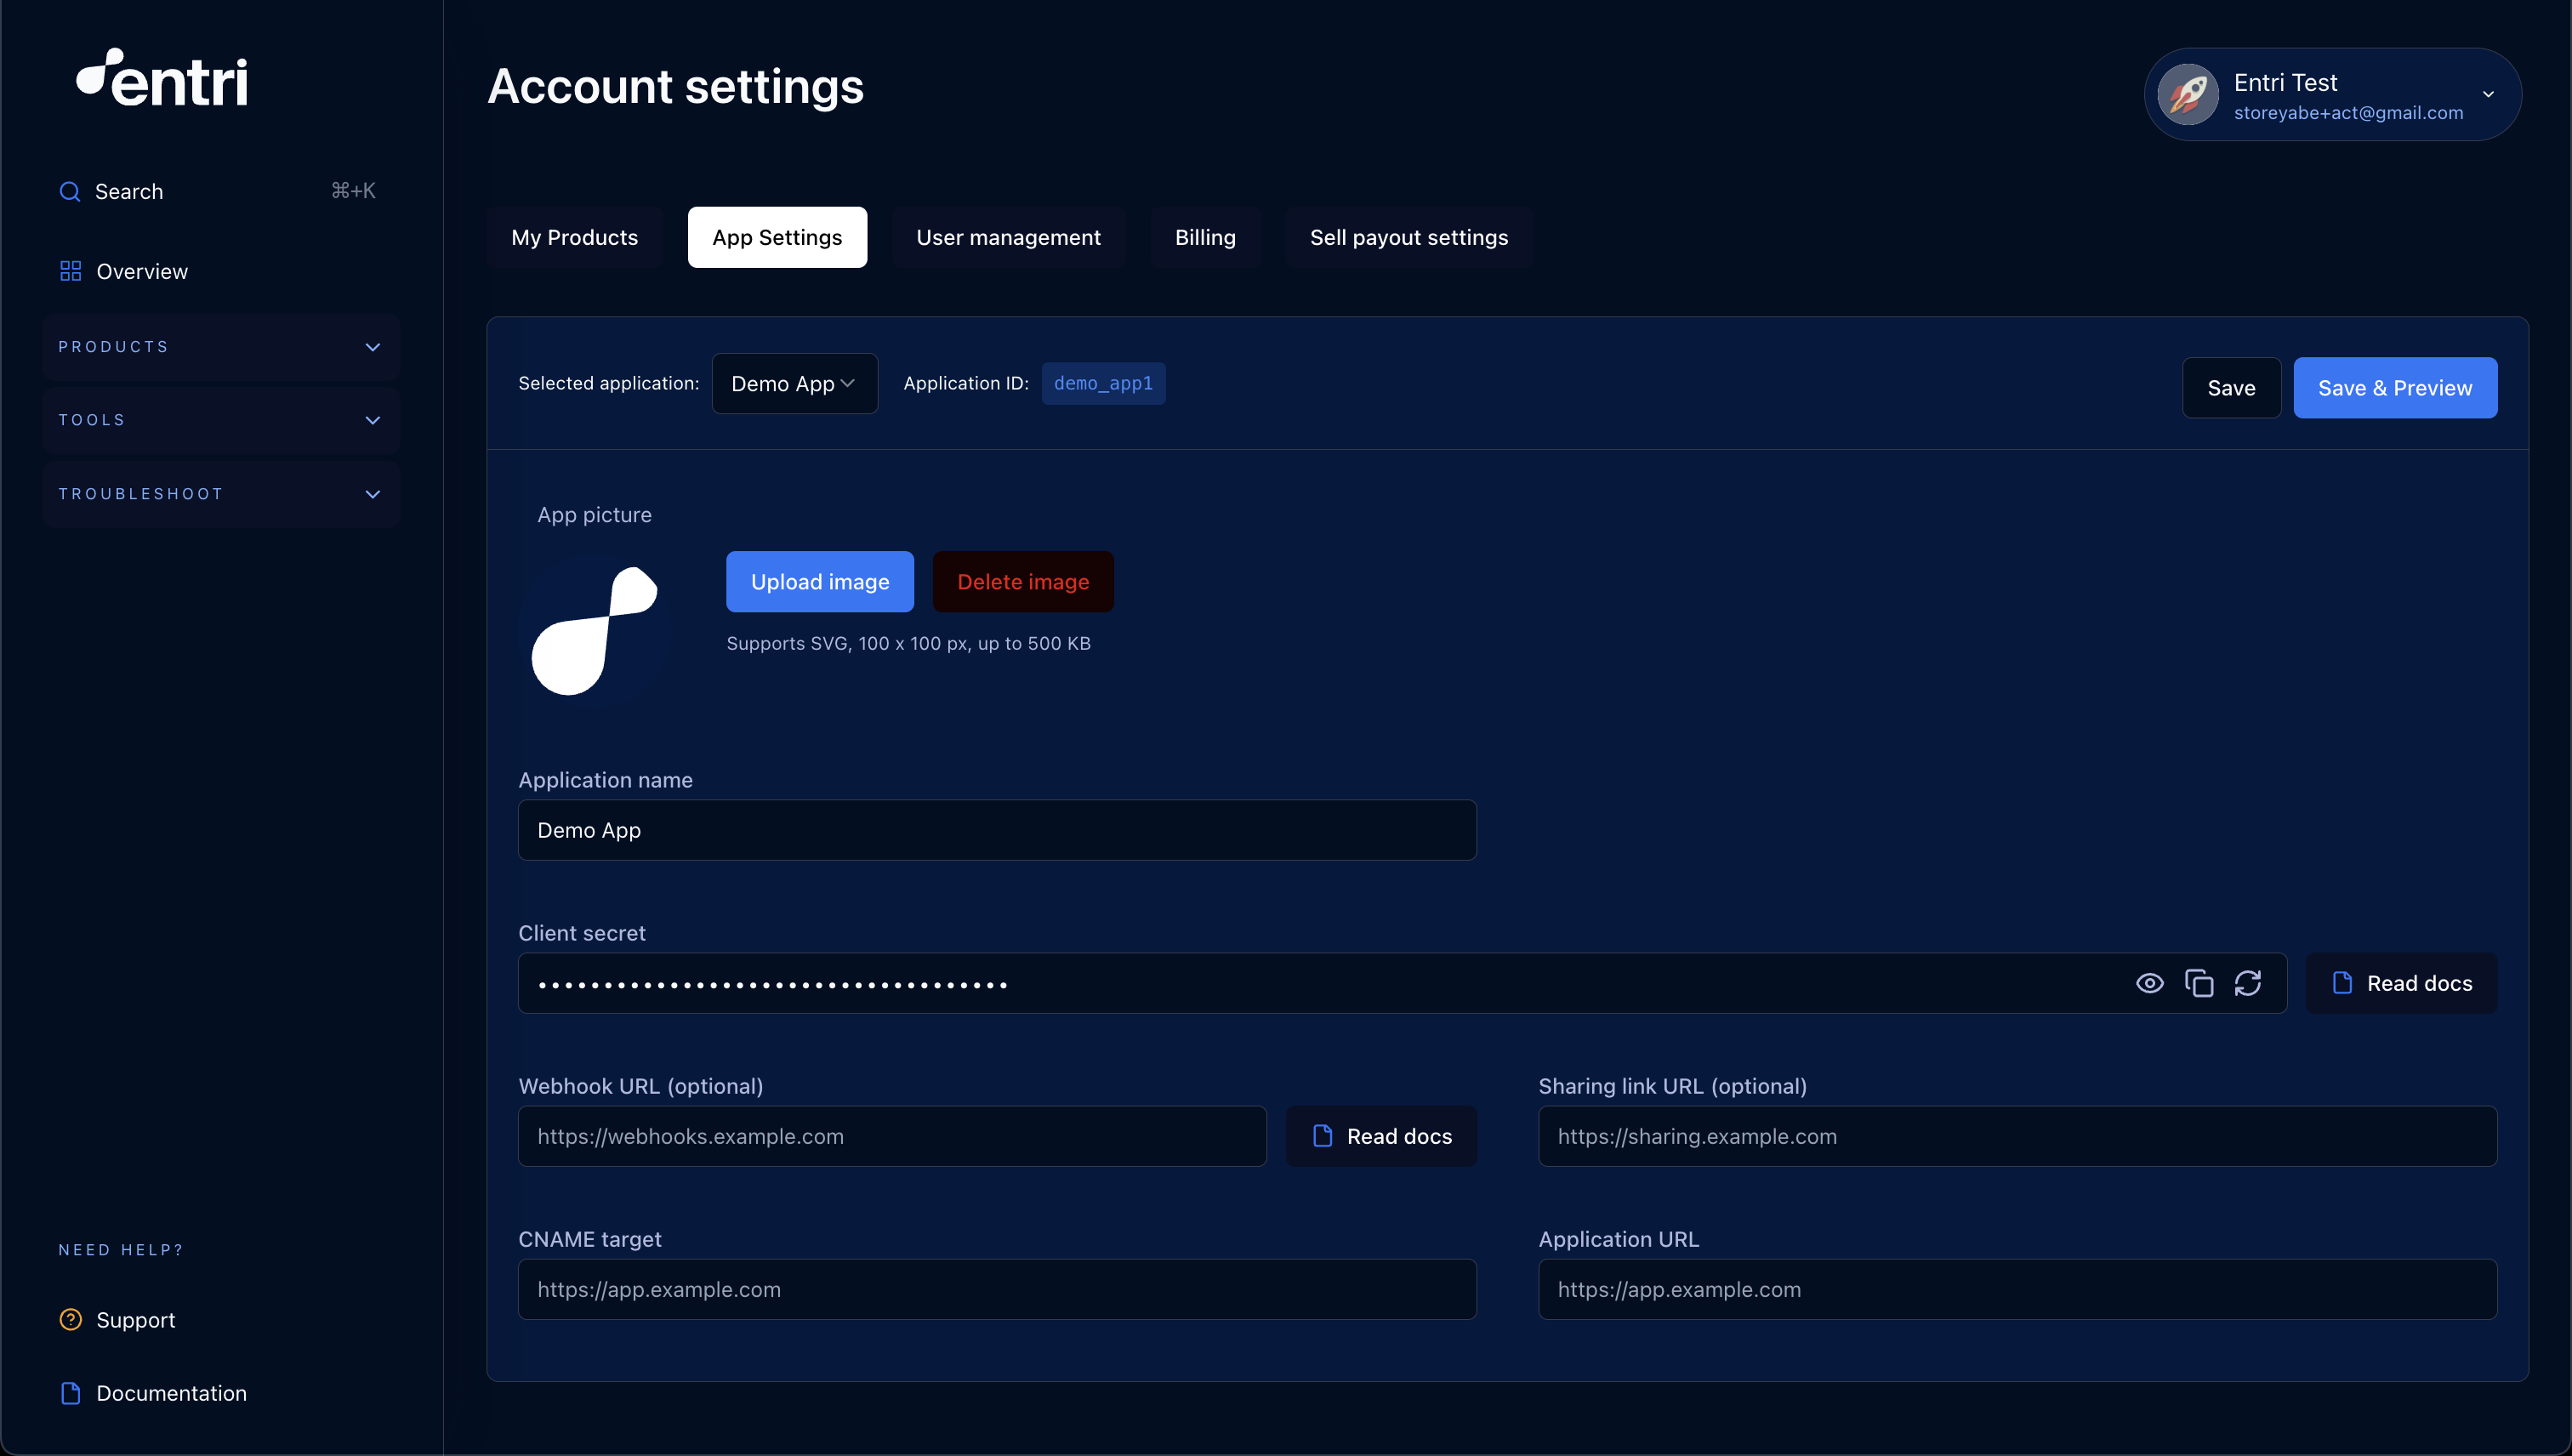
1. Set up your account
The first step to getting up and running with Entri is to configure your application display name and icon in the dashboard. These will be used in the Entri modal. For the icon, we require a PNG or SVG with a 1:1 ratio. We recommend a white or transparent background.
2. Add Entri to Your Project
You have two options to add Entri to your project: via the<script> tag or using the NPM package.
Option 1: Using the <script> tag
You can include Entri by adding the following <script> tag to your HTML file:
Option 2: Using the NPM Package
If you prefer to manage your dependencies via NPM, you can install the Entri package:3. Fetch the JSON web token (JWT)
To launch the Entri modal window in a session, you’ll need to fetch a JWT using thesecret key and applicationId provided by the Entri dashboard. Be sure to fetch the JWT on the server-side of your application. The JWT expires after 60 minutes. You can use any networking library you’d like. Here’s an example usingfetch:
4. Create the configuration object
Pass settings to the Entri modal window using a configuration object. Here’s a basic example:JavaScript

